Using DietPi to Set Up a Self Hosted Gitea Server
I am a huge fan of self hosting anything that I can. It not only reduces the amount of information about me out on the web, but it also allows me to do things without having to worry about redacting sensitive information such as passwords.
I do like to tinker… So when I saw that Unraid had a self hosted instance of GitLab on the community applications page, I installed it. Though GitLab is very robust and usable, it really bogged down my server for something that I really didn’t use as much as I thought I would. I ended up just putting everything in private Github repositories and deleting Gitlab.
About a week later, one of my friends clued me in to Gitea. Gitea was forked from Cogs in November 2016 because the users and contributors of Cogs were not happy about how Cogs was managed by a single maintainer. But what I like about it is that it is very light weight, very fast, and rapidly growing. Now the one caveat is that it does not have all the bells and whistles that GitLab has. For instance, it does not have Continuous Integration (CI) and pages to host static sites. But for my needs, Gitea will work just fine. I mostly just use it for automated config backups of Unraid and Home Assistant.
I have my private Gitea server running on DietPi on a Raspberry Pi 4 4GB. DietPi is a lightweight operating system based on Debian. It is designed to work on single board computers (SBC) such as a Raspberry Pi or ODriod. It provides a nice interface to install and automatically configure a wide variety of applications. DietPi is Command Line Interface (ALI) based but does not take long to get used to.
You have 2 options on how to install Gitea: Through the dietpi-software command and through Docker.
I have opted to do my installation through the dietpi-software command. I chose this method because it has been tested by the DietPi team for compatibility and works out of the box… For the most part… (More on that later.)
Note
While installing and setting up DietPi is beyond the scope of this article, I do have a guide on How to Flash an Image to an SD Card.
Installing Gitea
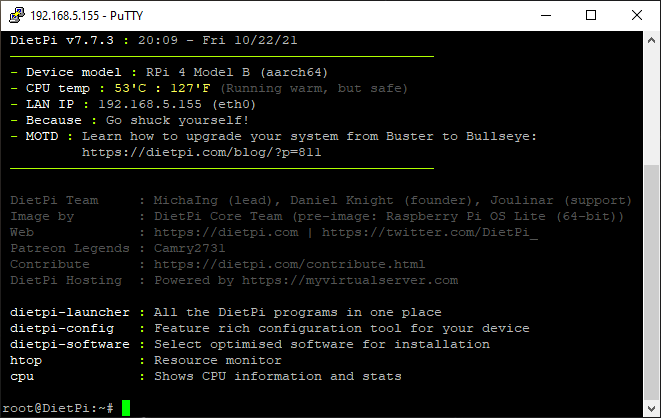
When you start up a SSH session, you should be presented with the starting screen for DietPi.
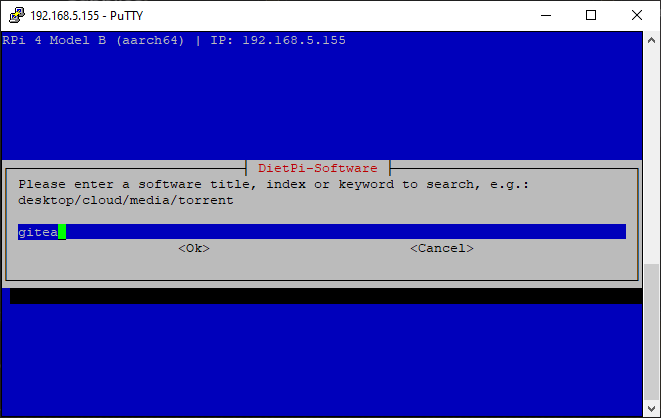
Start out by entering dietpi-software and then the enter key. This brings up settings that you can change for all of the software that is available on DietPi. Use your arrow keys until either “Search Software” or “Browse Software” is highlighted in red. For the sake of this guide, I will be searching for the software. If you do select the “Browse Software” function, you will find Gitea under the “Cloud & Backup” category.

Type gitea in the search box and then hit enter.
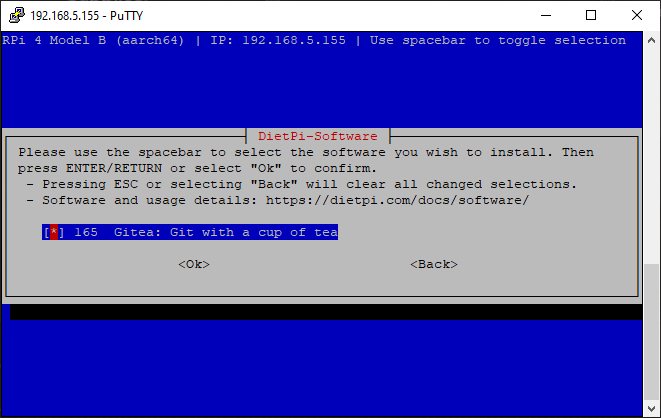
On the next screen, you should see the option for Gitea. Press the space bar to select the box so it has an asterisk within the brackets. (I should look like “[*]”) Then press the enter key.
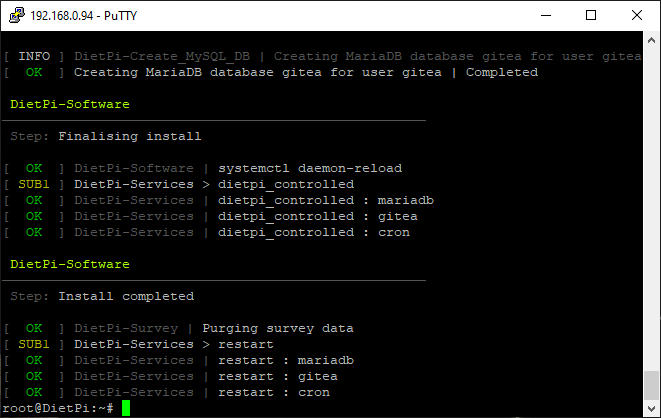
This will bring you back to the dietpi-software screen. Scroll down until the “Install” option is highlighted and then press the enter. This will take a few minutes for it to download and install. Once it is done, you should get something similar to the image below.
Now, you should be able to open a browser and navigate to http://[ip of your pi]:3000 and be presented with the Gitea setup screen.
Initial Setup
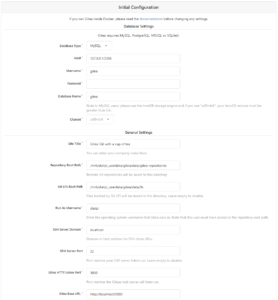
Database Setup
The first section of the Gitea setup page is for the database setup. You have the option to use MySQL/MariaDB, PostgreSQL, MSSQL, or SQLite.
MariaDB
MariaDB is the recommended database to use because it is the one that is installed by default with DietPi.
| Setting Name | Setting Value | Notes |
|---|---|---|
| Database Type | MySQL | Even though Gitea uses MariaDB, select MySQL. They are essentially the same. |
| Host | http://127.0.0.1:3306 | You can also use “http://localhost:3306” |
| Username | gitea | |
| Password | <your global password> | This should be set to the global password that you set up for DietPi. The default password is “dietpi” |
| Database Name | gitea | |
| Charset | utf8mb4 |
PostgreSQL
I have not personally tried installing Gitea with a Postgres installation. I will come back and update this guide when I make a test instance to set this up.
SQLite
SQLite is special in that the database is stored in a file. There are advantages and disadvantages to doing this. The advantage is that you are not relying on an external service to have your Gitea service to run. The disadvantage is that if the file becomes corrupt for whatever reason, and you do not have backups, then you are hosed.
If you do decide to use SQLite, then you can leave the option to the default which is “/mnt/dietpi_userdata/gitea/data/gitea.db”.
General Settings
The official documentation recommends that you mainly leave the general settings alone. For the most part, you shouldn’t have to change anything except the “Site Tile”. I however did change the “Gitea Base URL” to be the IP address of the machine instead of localhost. (EX: http://192.168.0.94:3000)
Optional Settings
If you are going to make your Gitea instance public, then you might want to go ahead and take a look at the optional settings. This is where you can set up your email, 3rd party integrations, SSO, and a couple of other things. If you hover over the option, it will give you a popup of what the option does.
The last optional setting is setting up the administrator account. If you do not set it up now, the first account that gets registered will become an admin account.
For the “Password Hash Algorithm”, I have no problems with leaving it on the default of “pbkdf2” on a RaspberryPi.
Install
Finally, it’s time to install Gitea. Click on the “Install” button!
When the installation is completed, you will get an error page in your browser. This is normal. Just change the URL to the IP address or go to your domain if you have one set up!